

Creating Roles and Permissions for Different Users
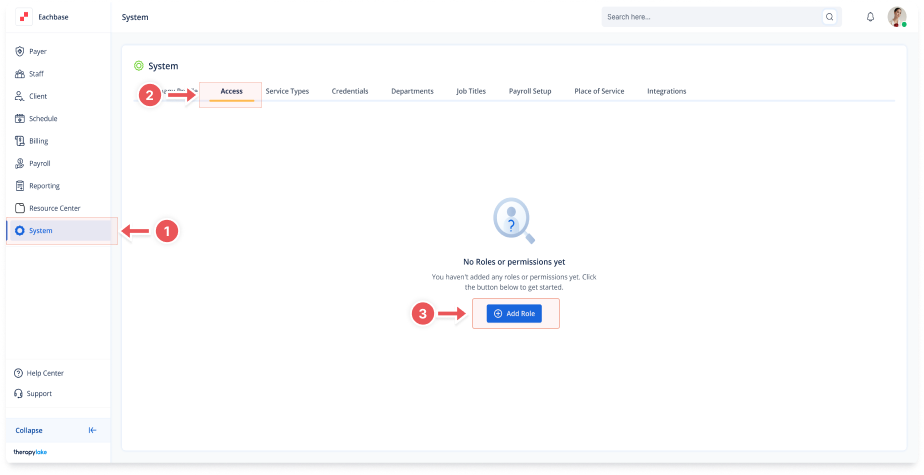
1. Navigate to System
-
Go to the left pane and click > System.
2. Navigate to Access Tab
-
Click on the Access tab at the top of the page.
3. Add Role
-
Click on the blue + Add Role button at the top right of the page.
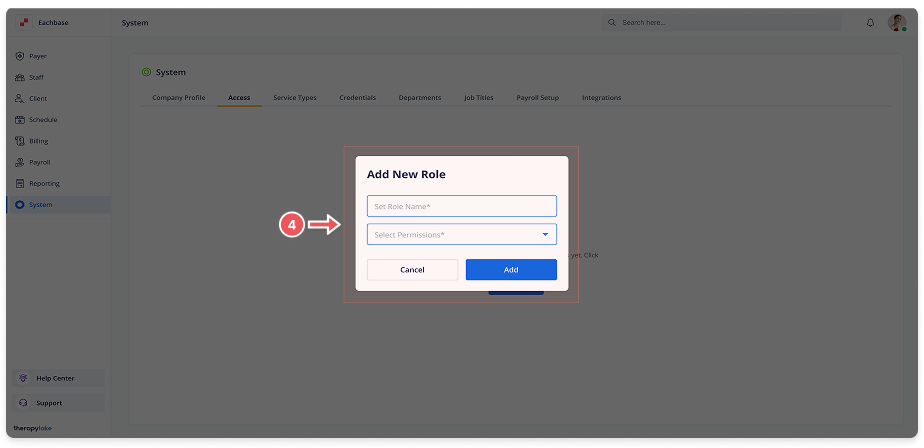
4. Enter Role Details
-
Set Role Name: Enter the name of the role (e.g., "HR Manager" or "Billing Specialist").
-
Set Permissions: Choose the permissions you want to assign to this role from a list.
5. Add the Role
-
Click Add to create the new role.
-
The new role will appear in the left table labeled Role.
6. View Assigned Permissions
-
Click on the role in the left table to see the permissions assigned to it in the right table.