Uploading Documents on Appointments
1. Access the Appointment
-
Navigate to the Schedule section on the left panel.
-
Find the appointment for which you want to view notes and click on it to open the appointment details modal.
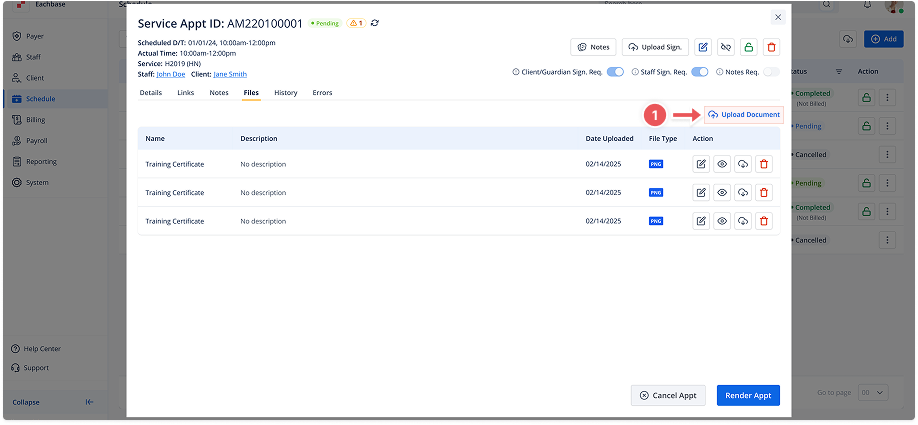
2. Switch to the Files Tab
-
In the appointment details modal, go to the Files tab.
3. Open the Upload Document Modal
-
Click the Add Document button located on the right side of the Files tab to open the document upload modal.
4. Input Document Information
-
In the Upload Document modal, provide a Document Name and an optional Description for each file.
-
Click on Click to Upload or drag and drop the file(s) from your device into the provided area.
5. Upload and Add Multiple Documents
-
Once the first file is uploaded, it will appear in the list below.
-
You can continue to upload additional documents by repeating the upload steps (dragging or clicking Click to Upload again).
-
Each file can have its own Document Name and Description.
-
To delete a file, click the trash icon next to it.
6. Complete the Upload
-
After uploading all desired documents, click the Add button to add the uploaded files to the appointment.
7. Review Uploaded Documents
-
Once the documents are added, you will see them listed under the Files tab. You can view, download, or delete them from this section.