

Uploading Files to Pending Claims
1. Navigate to Pending Claims
-
Go to the left sidebar and click on Billing > Claims > Pending Claims.
2. Select the Pending Claim
-
In the Pending Claims list, click on the specific claim for which you want to upload the file.
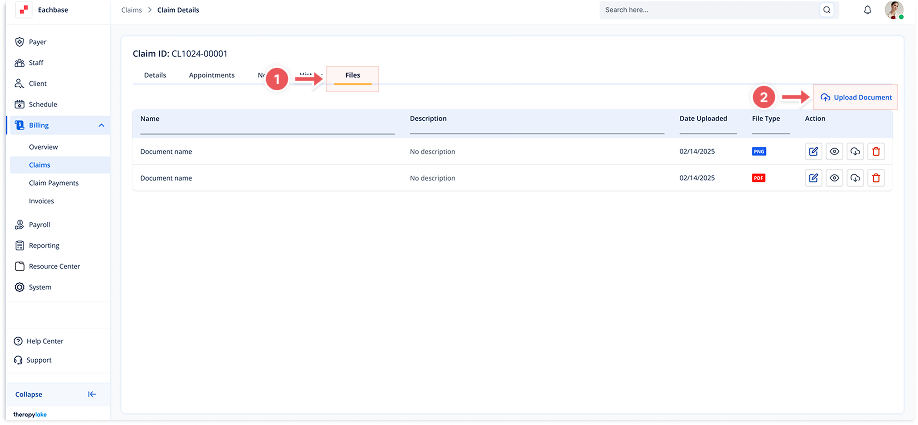
3. Click on the Files Tab
-
Once in the Claim Details screen, click the Files tab at the top of the page.
4. Upload Files
-
Click the Upload Document button to add relevant documents or files associated with the claim.
-
Once the button is clicked, the Upload Document modal will appear.
5. Fill in the Fields and Upload Files
-
Fill in the required fields in the Upload Document modal.
-
Click to upload or drag and drop the file into the drag and drop box.
6. Review Uploaded Files in the Modal
-
Once the file is dragged or selected, it will appear at the bottom of the modal.
-
Repeat this process for each additional file you would like to upload.
7. Save the Uploaded Files
-
After adding all the files, click the Add button on the bottom right of the modal.
8. View Uploaded Files
-
You will see the uploaded files listed in the table under the Files tab.