

Editing Payer
1. Access the Client Section
• Go to the > Client section in the left panel.
2. Select the Client
• Choose the client whose payer you want to edit.
3. Navigate to the Payers Tab
• Under the Payers section, find the payer you want to edit.
4. Locate the Payer to Edit
• Under the Payers section, find the payer you want to edit.
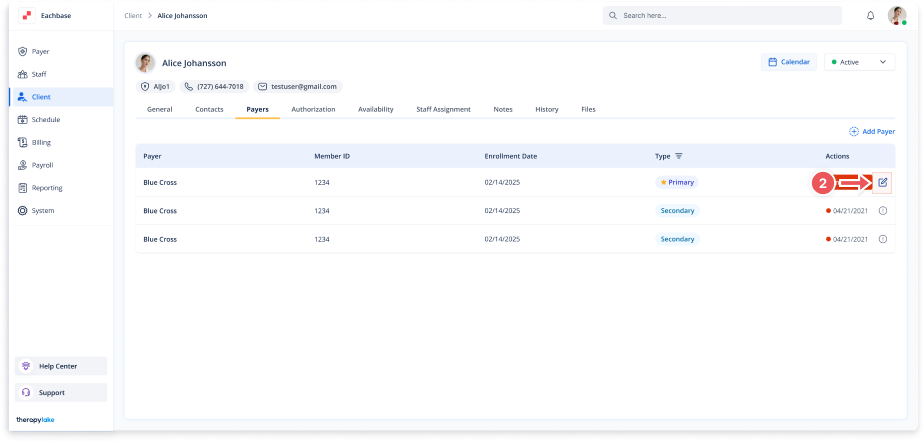
5. Open Edit modal
• Click on the pencil icon next to the Payer in the Action column to open the Edit Payer modal.
6. Update Payer Details
• In the Edit Payer modal, update the required fields
-
- Payer Name: Edit the name of the payer.
- Member ID: Update the payer's unique identifier (if applicable).
- Enrollment Date: Adjust the enrollment date if necessary.
- Set as Primary: Check or uncheck this box to mark or unmark the payer as primary.
• Check the Set as Primary checkbox if this payer should be marked as the primary payer.
7. Save Changes
• Click the Save button to apply the changes.
8. Review Updated Payer
• The updated payer details will now reflect in the Payers tab.