

Creating a Payer
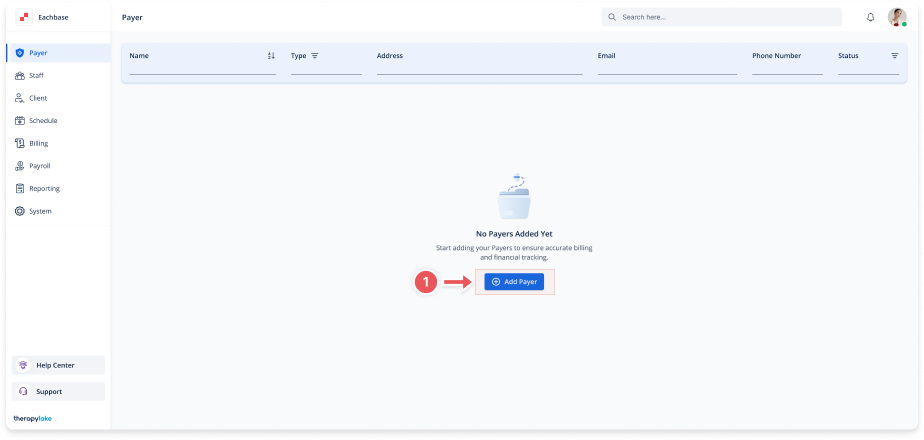
1. Access the Payer Section
-
Go to the Payer section in the left panel.
2. Add a New Payer
-
Click on the blue + Add Payer button at the top right of the page.
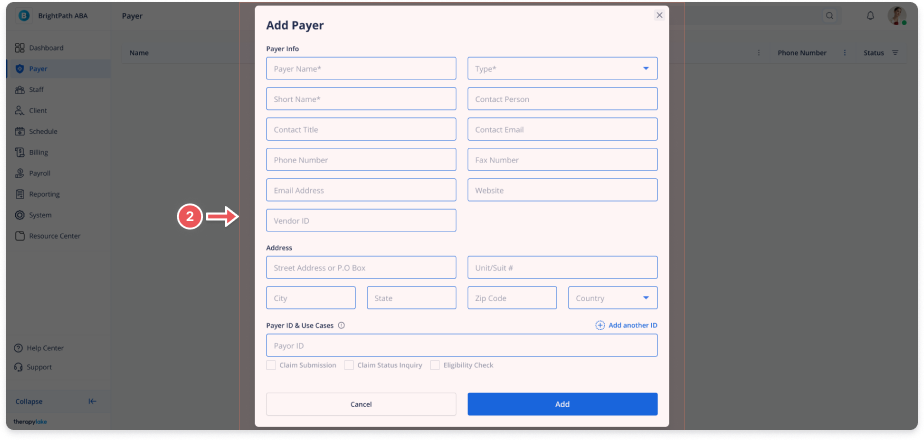
3. Fill Out the Payer Details
In the Add Payer form, complete the following fields:
Payer Info
-
Payer Name: Full name of the payer (e.g., "Blue Shield")
-
Type: Select payer type (e.g., Private Insurance, Public Insurance, School District, Regional Center, etc.)
-
Short Name: A short display name for internal use
-
Contact Person: Name of the contact person at the payer
-
Contact Title: Job title of the contact person
-
Contact Email: Email address of the contact person
-
Phone Number: Phone number of the contact person
-
Fax Number: Payer's fax number
-
Email Address: Additional email if needed
-
Website: Payer's website link
-
Vendor ID / Tax ID: Used for billing purposes
Address
-
Street Address or P.O. Box
-
Unit/Suite #
-
City
-
State
-
Zip Code
-
Country
Payer ID & Use Cases
You can enter one or more Payer IDs depending on your use cases. For each:
-
Payer ID: Unique ID provided by the insurance or clearinghouse
-
Select one or more use cases:
-
Claim Submission
-
Claim Status Inquiry
-
Eligibility Check
-
-
Use the "Add Payer ID" button to enter multiple Payer IDs if the payer supports different IDs per use case
4. Save the Payer
-
Click the Add button at the bottom-right to save the payer.