Uploading a Signature on a Service Appointment
1. Access the Appointment
-
Navigate to the Schedule section on the left panel.
-
Locate and click on the service appointment where you want to upload a signature.
This will open the appointment details modal.
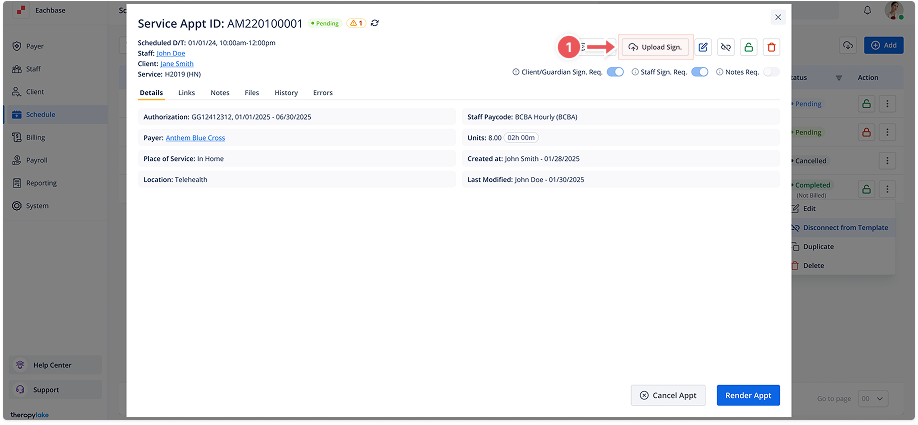
2. Open the Upload Signature Modal
-
In the appointment details modal, locate the Upload Signature button at the top left of the modal (next to the Notes button).
-
Click on Upload Signature. The Upload Signature modal will appear.
3. Upload the Signature
-
In the modal, click Upload Signature again to choose a file from your device.
-
Browse your device and select the file that contains the signature.
4. Confirm the Uploaded File
-
After the file is uploaded, its name will appear in the modal, confirming the upload was successful.
-
If the uploaded file is correct, click Done to confirm.
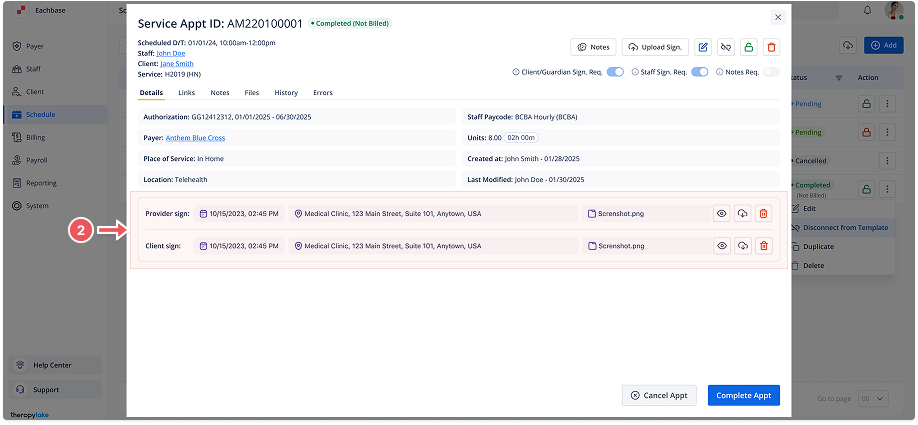
5. Verify the Signature
-
After confirmation, the uploaded signature will be listed under Signature Details in the appointment section.
-
You can download or view the signature file as needed.