Adding a Note to a Service Appointment
1. Access the Appointment
-
Navigate to the Schedule section on the left panel.
-
Locate the appointment you want to add a note to and click on it.
2. Switch to the Notes Tab
-
After clicking the appointment, the appointment details modal will open, defaulting to the Details tab.
-
Click on the Notes tab to switch from the details view to notes.
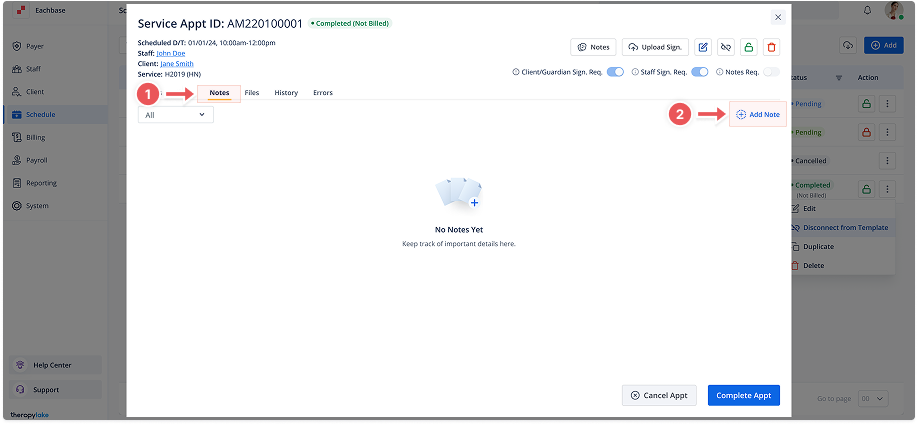
3. Add a New Note
-
If no notes exist, click the + Add Note button in the center of the screen.
-
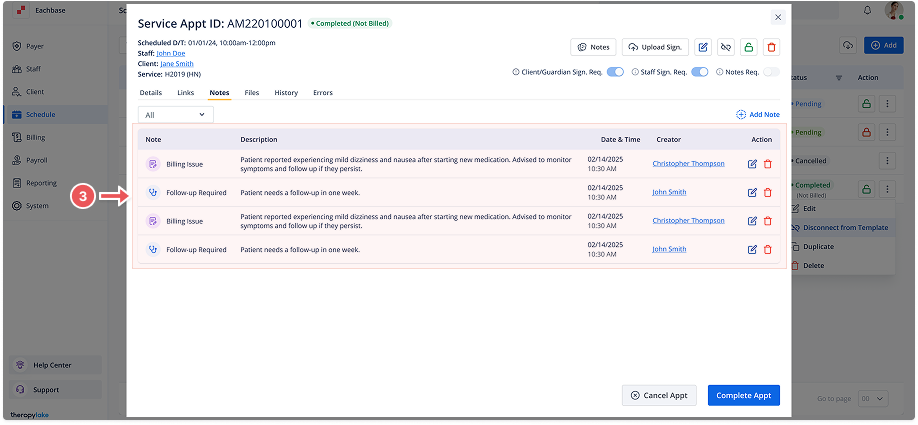
If there are existing notes, the + Add Note button will be available in the top-right corner.
4. Enter Note Details
-
After clicking Add Note, select Note type (Office or Clinical Note), provide a subject and the content of your note in the fields provided.
5. Save or Cancel the Note
-
Once you've entered the note details, click the Save button in the bottom-right corner to save the note.
-
If you change your mind, click Cancel to discard the note.
6. Review the Added Note
-
The newly added note will now be visible on the left side of the Notes section.
-
You can click on the note to review its details on the right side.