Adding Widgets to Your Dashboard
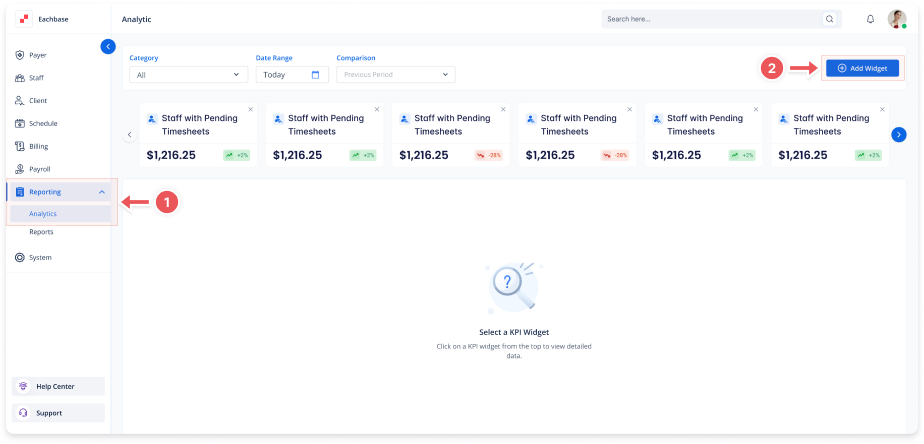
1. Navigate to the Analytics Section
-
On the left-side panel, click Reporting > Analytics.
2. Access Widget Management
-
In the top-right corner of the Analytics dashboard, click the Add Widget button.
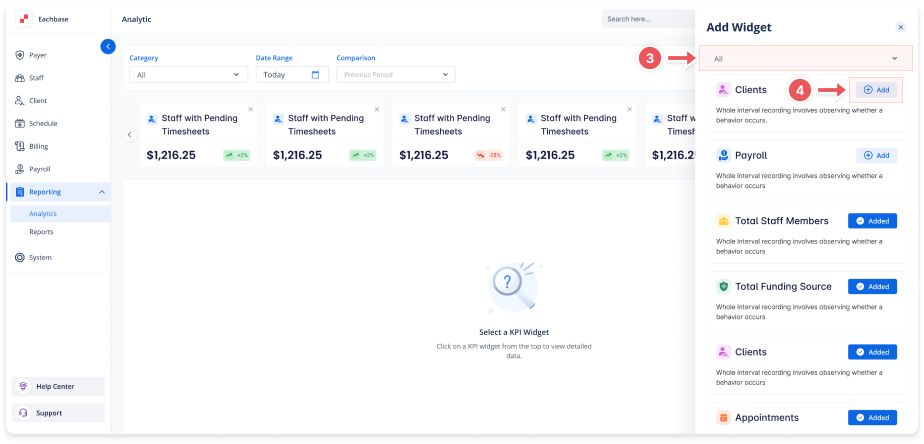
3. Select Widget Type (Modal Will Appear)
-
Total number of clients: Current snapshot of active clients.
-
New clients for a given period: Shows recent signups.
-
Active clients by payer: Breakdown by payment source.
-
Total number of staff: Active/inactive staff count.
-
Total appointments: All appointments in system.
-
Appointments for period: Filterable by date range.
-
Submitted claims for period: Filterable by date range.
-
Not Submitted claims: Number of claims in appeals and pending currently.
-
Total Billed: Sum of all billed amounts using date of service.
4. Add Your Widget
-
Click on your desired widget type in the modal.
-
The widget will automatically appear on your dashboard.
5. Understand Widget Data
-
Each widget displays real-time information.
-
Hover over data points for detailed tooltips.
-
Click any widget to view expanded details.